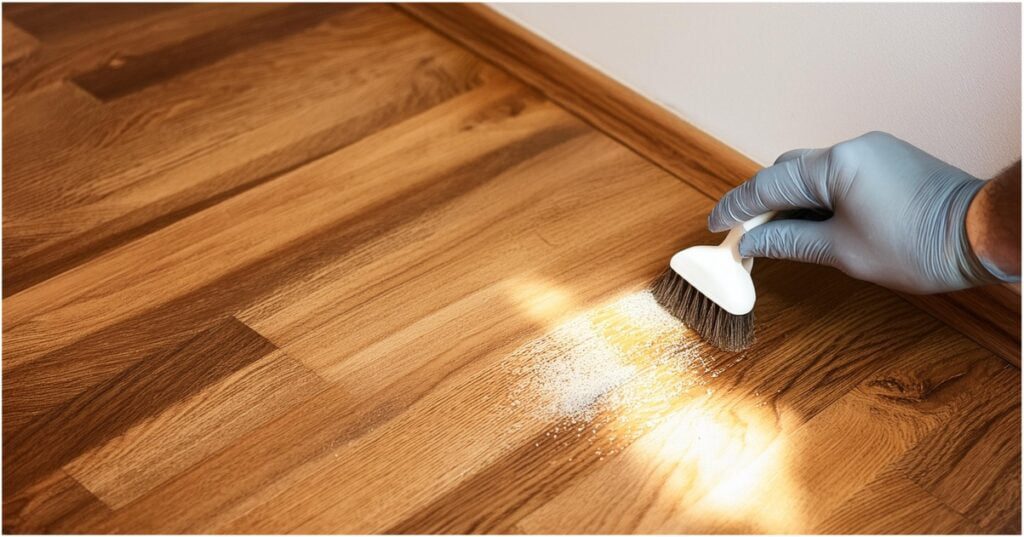
How to Get Small Scratches Out of Hardwood Floors

Introduction: The Challenge of Small Scratches on Hardwood Floors
Hardwood floors add elegance and warmth to any home, but they are susceptible to scratches. Small scratches are a common issue, often caused by moving furniture, pet claws, or everyday foot traffic. While these scratches might seem minor, they can detract from the overall beauty of your flooring. This guide provides practical steps to help you remove small scratches and maintain the pristine condition of your hardwood floors.
Step 1: Identify the Type of Finish on Your Hardwood Floors
Before addressing the scratches, it’s crucial to understand the type of finish on your hardwood floors. Different finishes require different repair methods.
Understanding Different Types of Finishes
- Oil-Based Finish: Penetrates the wood and provides a rich look.
- Water-Based Finish: Sits on top of the wood and is less glossy than oil-based finishes.
- Polyurethane Finish: Durable and comes in both oil-based and water-based forms.
How to Determine Your Floor’s Finish
- Look for Labels: Check for any labels or documentation from the manufacturer.
- Spot Test: In an inconspicuous area, apply a small amount of mineral spirits. If it dissolves, you likely have an oil-based finish.
Step 2: Clean the Scratched Area Thoroughly
Before repairing the scratch, the area must be clean to prevent dirt or debris from worsening the scratch.
List of Cleaning Supplies Needed
- Soft cloth
- Hardwood floor cleaner
Steps to Clean the Area
- Dust: Use a dry, soft cloth to remove dust and dirt.
- Clean: Apply a hardwood floor cleaner to a cloth and gently wipe the area.
- Dry: Ensure the area is completely dry before proceeding.
Step 3: Use a Wood Floor Repair Marker or Crayon
Wood floor repair markers and crayons are designed to fill in and color scratches, making them less noticeable.
Choosing the Right Color
- Match to Your Floor: Select a marker or crayon that closely matches the color of your hardwood floor.
How to Apply the Marker or Crayon
- Test: Test the color on an inconspicuous area.
- Apply: Color in the scratch with the marker or crayon.
- Buff: Gently buff the area with a soft cloth to blend the color.
Step 4: Apply a Hardwood Floor Polish
Polish helps to blend the scratch with the surrounding area, making it less visible.
Types of Hardwood Floor Polishes
- Water-Based Polish: Quick-drying and easy to apply.
- Oil-Based Polish: Provides a rich, durable finish.
How to Apply the Polish
- Clean: Ensure the area is clean and dry.
- Apply: Use a soft cloth to apply the polish over the scratch.
- Buff: Buff the area gently to blend the polish.
Step 5: Use a DIY Vinegar and Olive Oil Solution
A homemade solution can also help minimize the appearance of scratches.
Recipe for the Vinegar and Olive Oil Solution
- 1/2 cup of vinegar
- 1/2 cup of olive oil
How to Apply the Solution
- Mix: Combine the vinegar and olive oil in a small bowl.
- Apply: Use a soft cloth to apply the solution to the scratch.
- Buff: Buff the area to blend the solution with the wood.
Step 6: Try Using a Walnut
The natural oils in walnuts can help reduce the visibility of scratches.
How the Natural Oils in Walnuts Help
- Walnuts contain natural oils that can darken and blend scratches.
Steps to Rub a Walnut on the Scratch
- Rub: Rub the walnut back and forth over the scratch.
- Buff: Use a soft cloth to buff the area.
Step 7: Sand and Refinish the Area
For deeper scratches, light sanding and refinishing may be necessary.
When Sanding is Necessary
- If the scratch is deep and the above methods don’t work.
How to Lightly Sand and Refinish the Area
- Sand: Use fine-grit sandpaper to lightly sand the scratch.
- Clean: Wipe away dust with a damp cloth.
- Refinish: Apply a matching finish to the sanded area.
Step 8: Apply a Touch-Up Kit for Hardwood Floors
Touch-up kits are available for more noticeable scratches.
What a Touch-Up Kit Includes
- Stain pens, fillers, and finishing sealants.
Steps to Use the Touch-Up Kit
- Clean: Ensure the area is clean.
- Apply: Follow the kit instructions to apply the filler and stain.
- Finish: Apply the sealant to protect the area.
Step 9: Prevent Future Scratches
Preventing scratches is key to maintaining your hardwood floors.
Tips for Preventing Scratches
- Use Rugs: Place rugs in high-traffic areas.
- Felt Pads: Attach felt pads to the bottom of furniture legs.
- Regular Cleaning: Keep floors clean to avoid scratching from dirt and debris.
Importance of Regular Maintenance
- Regular cleaning and maintenance can significantly reduce the likelihood of scratches.
Step 10: When to Call a Professional
Sometimes scratches are too deep or extensive to handle on your own.
Signs That a Scratch is Too Deep to Handle on Your Own
- The scratch goes beyond the finish and into the wood.
Benefits of Hiring a Professional for Major Repairs
- Professionals have the tools and expertise to properly repair deep scratches and restore your floor’s appearance.
Conclusion: Maintaining the Beauty of Your Hardwood Floors
Maintaining the beauty of your hardwood floors involves regular cleaning and promptly addressing any scratches. By following these steps, you can keep your floors looking their best and enjoy their elegance for years to come. Regular maintenance and prevention are key to avoiding future scratches and ensuring your hardwood floors remain a stunning feature in your home.
