Tile Floor Care Tips: How to Take Care of Your Tile Floor When Using a Vacuum Cleaner

Introduction: The Importance of Proper Tile Floor Care
Tile floors are a popular choice for their durability, aesthetic appeal, and ease of maintenance. However, to keep them looking their best and to prolong their lifespan, regular care is essential. This guide will provide you with practical tips and techniques to take care of your tile floors when using a vacuum cleaner.
Step 1: Choose the Right Vacuum Cleaner for Tile Floors
Explanation of the Ideal Vacuum Features for Tile Floors: Not all vacuum cleaners are suitable for tile floors. The ideal vacuum should have strong suction, a hard floor setting, and rubberized wheels to prevent scratching.
Recommendations for Vacuum Models Suited for Tile Floor Cleaning:
- Bissell Featherweight Stick Lightweight Bagless Vacuum: This vacuum is designed specifically for hard floors and has a unique V-shaped design that directs larger debris into the center suction path.
- Shark Navigator Lift-Away Professional NV356E: With a hard floor attachment and strong suction, this model is perfect for tile floors.
- Dyson V11 Origin Cordless Vacuum: It’s lightweight, versatile, and has a powerful suction that’s gentle on tiles.
Step 2: Use the Appropriate Vacuum Attachments
List of Attachments Beneficial for Tile Floors:
- Soft brush roll
- Hard floor tool
- Crevice tool
How to Use Each Attachment Effectively:
- Soft Brush Roll: Ideal for gentle cleaning without scratching.
- Hard Floor Tool: Designed to pick up fine dust and larger debris without scattering them.
- Crevice Tool: Perfect for cleaning grout lines and corners where dust can accumulate.
Step 3: Set the Correct Vacuum Settings
Importance of Adjusting Vacuum Settings for Tile Floors: Adjusting your vacuum to the right setting ensures optimal performance and prevents damage to your tiles.
Instructions on How to Set the Vacuum for Optimal Performance:
- Set the vacuum to the “hard floor” or “bare floor” setting.
- Lower the suction power if your vacuum allows, to prevent the vacuum from pulling too hard on the tile surface.
Step 4: Vacuum Regularly and Methodically
Suggested Vacuuming Frequency for Tile Floors: For high-traffic areas, vacuum daily or every other day. For low-traffic areas, vacuum at least once a week.
Techniques for Vacuuming Efficiently and Thoroughly:
- Start from the farthest corner and work your way towards the exit.
- Use overlapping strokes to ensure you cover the entire surface.
Step 5: Protect Your Floors from Scratches
Tips for Preventing Scratches While Vacuuming:
- Ensure the vacuum’s wheels are clean and free of debris.
- Avoid dragging the vacuum across the floor; instead, lift it when moving to a new area.
- Use the soft brush attachment to prevent scratching.
Importance of Checking for Debris That Could Cause Damage: Before vacuuming, do a quick sweep to pick up larger debris like stones or sharp objects that could scratch the tile surface.
Step 6: Clean the Vacuum Regularly
Steps for Maintaining Your Vacuum Cleaner:
- Empty the dustbin or replace the bag regularly.
- Clean the filters as per the manufacturer’s instructions.
- Check for blockages in the hose and attachments.
Importance of Keeping the Vacuum Clean to Avoid Spreading Dirt: A clean vacuum operates more efficiently and ensures that dirt and debris are properly contained, preventing them from being spread back onto your floors.
Step 7: Use Rugs and Mats in High-Traffic Areas
Benefits of Placing Rugs and Mats on Tile Floors: Rugs and mats can catch dirt and debris before it reaches your tile floors, reducing wear and tear.
Recommendations for Rug and Mat Placement:
- Place doormats at entrances to catch dirt.
- Use rugs in high-traffic areas like hallways and living rooms.
Step 8: Address Spills and Stains Immediately
Techniques for Quick Spill and Stain Removal:
- Wipe up spills immediately with a clean, damp cloth.
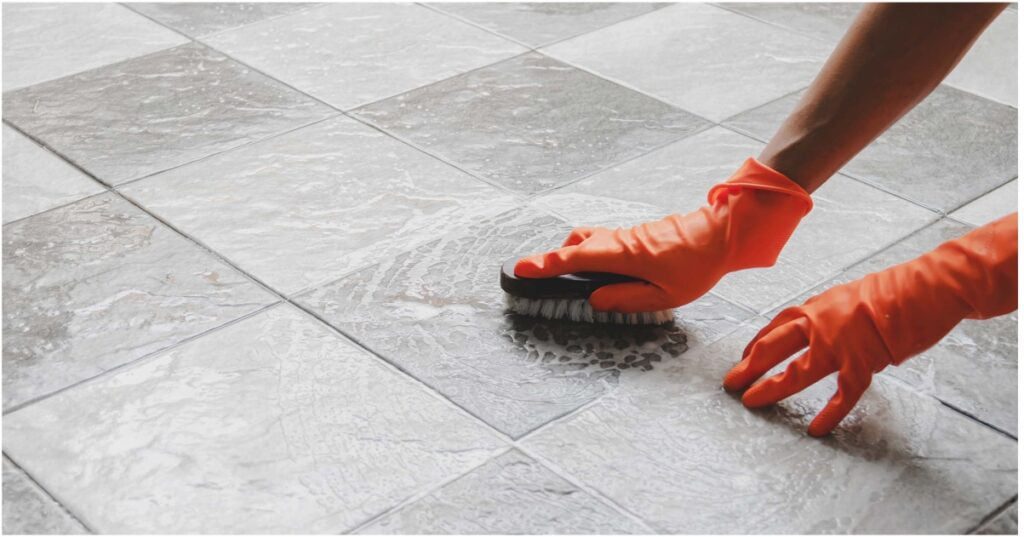
- For tougher stains, use a mild detergent solution and a soft brush to scrub gently.
Products and Methods Safe for Tile Floor Cleaning:
- White vinegar and water solution
- Mild dish soap and water
- Commercial tile cleaners that are pH-neutral
Step 9: Polish and Protect Your Tile Floors
Explanation of the Benefits of Polishing Tile Floors: Polishing your tile floors enhances their shine and adds a protective layer against stains and scratches.
Steps to Polish and Protect Your Floors Regularly:
- Clean the floor thoroughly.
- Apply a tile floor polish with a soft cloth or mop.
- Buff the floor to a shine with a clean, dry cloth.
Step 10: Schedule Professional Cleanings
Importance of Professional Floor Care: Professional cleanings can reach deep-seated dirt and restore the shine and cleanliness of your tile floors.
How Often to Schedule Professional Cleanings for Tile Floors: Aim to schedule professional cleanings once or twice a year, depending on the traffic and wear on your tile floors.
Conclusion: Keeping Your Tile Floors in Top Condition
By following these steps, you can maintain the beauty and longevity of your tile floors. Regular vacuuming, proper cleaning techniques, and preventive measures will keep your floors looking pristine and well-maintained for years to come. Make these practices a part of your routine to enjoy the benefits of clean, shiny, and durable tile floors.
