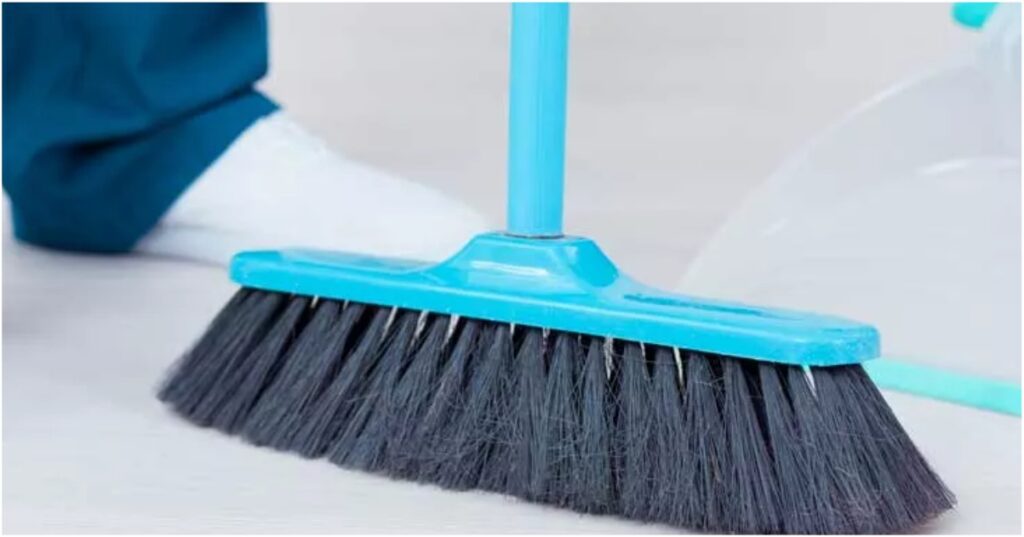
Bare Floor Care Tips: How to take care of your bare floor when using a vacuum cleaner

Introduction: The Importance of Proper Bare Floor Care
Maintaining bare floors, whether they are hardwood, tile, or laminate, not only enhances the beauty of your home but also ensures longevity and durability. Proper care and regular cleaning can prevent scratches, scuffs, and other damage, keeping your floors looking pristine. This guide provides step-by-step tips on how to effectively care for your bare floors using a vacuum cleaner.
Step 1: Choose the Right Vacuum Cleaner for Bare Floors
The first step in maintaining your bare floors is selecting the right vacuum cleaner. Not all vacuums are created equal, and some are better suited for bare floors than others.
Ideal Features:
- Adjustable suction power: To avoid damaging delicate surfaces.
- Soft brush rolls: To prevent scratches.
- Rubber wheels: To protect the floor from scuff marks.
Recommended Models:
- Dyson V11: Known for its powerful suction and soft roller head.
- Shark Navigator Lift-Away Professional: Offers adjustable suction and a gentle brush roll.
- Miele Complete C3 Calima: Features rubber wheels and an adjustable floorhead.
Step 2: Use the Appropriate Vacuum Attachments
Using the correct attachments is crucial for effective cleaning without causing damage.
Beneficial Attachments:
- Soft-bristle brush: Ideal for gentle sweeping of debris.
- Crevice tool: For cleaning edges and corners.
- Bare floor tool: Designed specifically for hard surfaces.
How to Use:
- Soft-bristle brush: Use in sweeping motions to pick up dust and dirt.
- Crevice tool: Run along the edges of the floor and in tight spots where dust accumulates.
- Bare floor tool: Glide it smoothly over the surface for comprehensive cleaning.
Step 3: Set the Correct Vacuum Settings
Adjusting your vacuum settings can make a significant difference in cleaning efficiency and floor protection.
Tips for Setting Adjustments:
- Suction power: Use a lower setting to prevent damage.
- Brush roll: Turn off or switch to a soft brush roll to avoid scratches.
Instructions:
- Locate the suction control on your vacuum.
- Set it to a medium or low level.
- Ensure the brush roll is either off or set to a gentle mode.
Step 4: Vacuum Regularly and Methodically
Regular and systematic vacuuming keeps your floors in top condition.
Suggested Frequency:
- High-traffic areas: Daily or every other day.
- Low-traffic areas: Once or twice a week.
Techniques:
- Methodical approach: Vacuum in overlapping rows.
- Thorough coverage: Ensure all areas, including under furniture, are cleaned.
Step 5: Protect Your Floors from Scratches
Preventing scratches is key to maintaining the appearance of your floors.
Tips:
- Check for debris: Before vacuuming, quickly inspect the floor for any large particles.
- Lift, don’t drag: When moving furniture or heavy objects.
Step 6: Clean the Vacuum Regularly
A well-maintained vacuum operates more efficiently and prolongs the life of both the vacuum and your floors.
Maintenance Steps:
- Empty the dustbin: After each use.
- Clean the filter: Once a month.
- Inspect the brush roll: Remove any hair or debris wrapped around it.
Step 7: Use Rugs and Mats in High-Traffic Areas
Rugs and mats can significantly reduce wear and tear on your floors.
Benefits:
- Prevent dirt buildup: By trapping dirt and moisture.
- Reduce scratches: By providing a buffer in high-traffic areas.
Recommendations:
- Place rugs: At entryways and high-traffic zones.
- Use mats: In front of sinks and kitchen areas.
Step 8: Address Spills and Stains Immediately
Prompt action on spills prevents stains and damage.
Techniques:
- Blot, don’t rub: Use a soft cloth to blot up spills.
- Use gentle cleaners: Vinegar and water solution for safe cleaning.
Products:
- Mild dish soap: Mixed with water for a gentle cleaning solution.
- Vinegar and water: Effective for removing tough stains without damaging the floor.
Step 9: Polish and Protect Your Bare Floors
Polishing adds a protective layer and restores shine to your floors.
Benefits:
- Enhanced appearance: Polished floors look clean and new.
- Added protection: Polishing helps seal the surface.
Steps:
- Choose the right polish: Ensure it is suitable for your floor type.
- Apply evenly: Using a soft cloth or mop.
- Buff to a shine: With a dry, clean cloth.
Step 10: Schedule Professional Cleanings
Professional cleaning can address deep-set dirt and rejuvenate your floors.
Importance:
- Deep cleaning: Removes buildup that regular vacuuming might miss.
- Prolongs floor life: Keeps your floors in optimal condition.
Frequency:
- Every 6-12 months: Depending on the amount of traffic and wear.
Conclusion: Keeping Your Bare Floors in Top Condition
Regular maintenance and proper care are essential for keeping your bare floors looking beautiful and lasting longer. By following these tips, you can ensure your floors remain in excellent condition, enhancing the overall appeal and cleanliness of your home. Prioritize your floor care routine, and enjoy the benefits of well-maintained, stunning bare floors.Top of Form
